![Realtair RGB Green Box Logo.jpg]](https://help.realtair.com/hs-fs/hubfs/Realtair%20RGB%20Green%20Box%20Logo.jpg?height=50&name=Realtair%20RGB%20Green%20Box%20Logo.jpg)
Before You Start:
- You must have an active campaign created for the property.
- Sell must be enabled on your subscription (if you see Book a demo on your screen, please contact your office admin to check your subscription plan)
Prefer to watch? Check out our video guide here.
Step 1: Navigate to the Activation Screen
- From your campaign dashboard, click into the relevant property campaign.
- Select the Sell tab.
- Click the Activate button to begin setting up your listing.

Step 2: Complete the Property Details
On the activation screen, fill in the details for your listing.
- CRM Shortcut: If your office has a CRM integration (e.g., Agentbox), you can click Get Details from <CRM> to automatically populate the property details, description, and images. For this guide, we will cover the manual steps.

A. Choose Your Sale Type and Price
- Select Private Treaty from the Sale Type dropdown menu.
- Enter the Price Guide for the property. Note: This is an optional field.
- Confirm the Timezone is correct. It will default to your location, but you can change it if needed.
B. Add Listing and Property Information
- Listing URL: Enter the link to the property listing on a portal like realestate.com.au or your own website.
- Headline & Description: Write an attention-grabbing headline and a compelling property description.
- Media: Drag and drop your property images into the media box. You need at least one image to activate the listing.
- Vendor & Solicitor Details: This information will auto-fill if you have already created a Pitch or Sign document for this campaign. Otherwise, enter the details manually.
- Contract: The master contract of sale will automatically upload from Sign if one exists.
Step 3: Click Activate
Once all the required details are entered, click the Activate button at the bottom of the page. You will now be taken to the property setup page.
Step 4: Configure Listing Options (The Checklist)
On the setup page, you will see a checklist of options to configure how your listing appears to buyers.
- Display property on Realtair: Recommended. This makes your listing visible on
buy.realtair.com. - Display documents in public: Tick this to make documents like building and pest reports visible on the listing. You can upload these in the 'Documents' section further down the page.
- Display price guide: Tick this to show the price guide you entered earlier on the public listing.
- Display start and finish time: Useful for setting a deadline for best and final offers. You can also enable a time extension, which automatically extends the deadline if a last-minute offer is made.
- Publish offer ranking: This enables a feature that ranks offers for the vendor. [Learn more about Offer Ranking here].
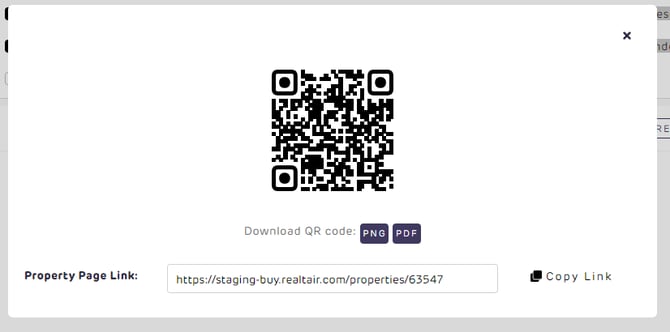
Step 5: Share Your Listing
Your listing is now active!
Click the Share button at the top of the page to get a direct link and a QR code. You can use these in all your marketing materials—print the QR code for open homes, add it to signboards and brochures, or save it on your phone for easy sharing.