Creating your first campaign
Here is a detailed guide on how to set up your initial campaign.
-
Log in: Go to https://app.realtair.com/dashboard and sign in.
-
Create Campaign: Click on "Create campaign" button.

3. Enter the required details (Agents, Address, Property Type, Campaign Status)
4. Agents - Your name will appear by default if you're the primary agent. If you're an assistant, you can choose the relevant agent from the dropdown.
5. Address - Start typing the property address and select from the dropdown.

6. Choose Address Source:
-
-
If you want to pull vendor details from your CRM, choose "Create a new campaign."
-
If you want property details from data providers like CoreLogic, Price Finder, or PropTrack, choose "Select an address."
-

7. Choose an address from dropdown
If there's a duplicate address, you have two options:
a. Create a new campaign - tick the checkbox

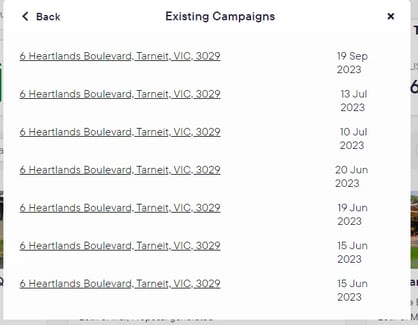
b. Use an existing campaign (click on "Campaigns" and select the campaign).

Address Not Found: If you have opted to pull the address from your data provider, and if your data provider is PropTrack, CoreLogic NZ/AU, and we cant find the exact address in the data provider, we will show an extra field for you to enter an address for comparable search
From here: you can opt to
-
Try typing the address differently. (ie Apt 9/20 Smith Street, instead of Unit 9/20 Smith Street, or 9/20 Smith St)
-
Add an address in “search for comparable address” so we can suggest comparables based on this address instead
-
if you dont want to add an address for the purpose of finding comparables, start typing in “search for comparable address” and select “Still can’t find the correct address” from search results

-
Property type - Choose from the dropdown menu.
-
Status -Select the status from the dropdown.

![Realtair RGB Green Box Logo.jpg]](https://help.realtair.com/hs-fs/hubfs/Realtair%20RGB%20Green%20Box%20Logo.jpg?height=50&name=Realtair%20RGB%20Green%20Box%20Logo.jpg)