Template Editor: How to add, edit and manage an Image Library
Prefer to watch? Check out our video guide here.
There are two ways to create an image library:
Option 1. In the Template Editor
In the section’s editor, click the link to create a new image library.
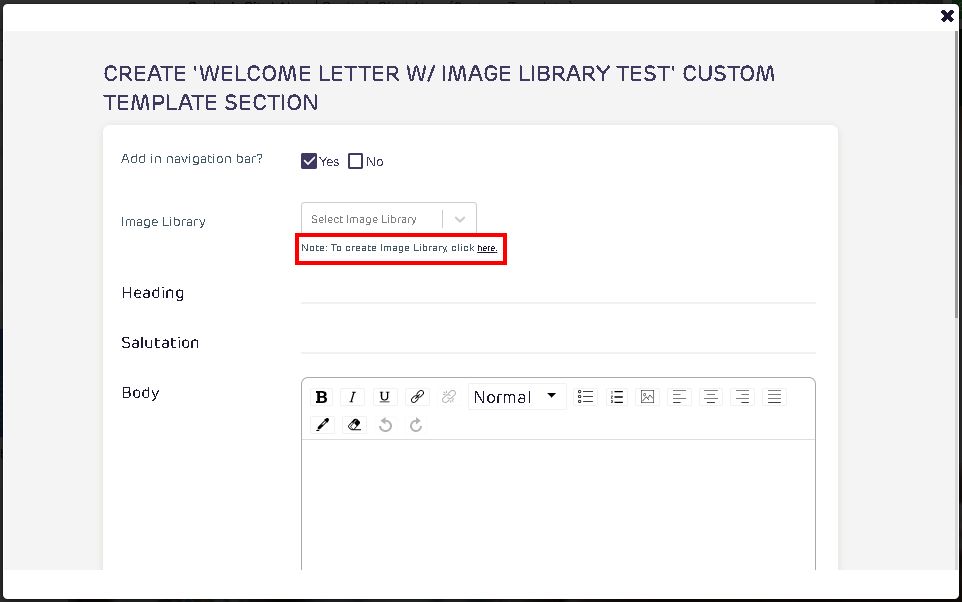
A new tab will open to create a new image library. Enter the Name of the library and the offices to link its access. The description and dimension fields are optional.
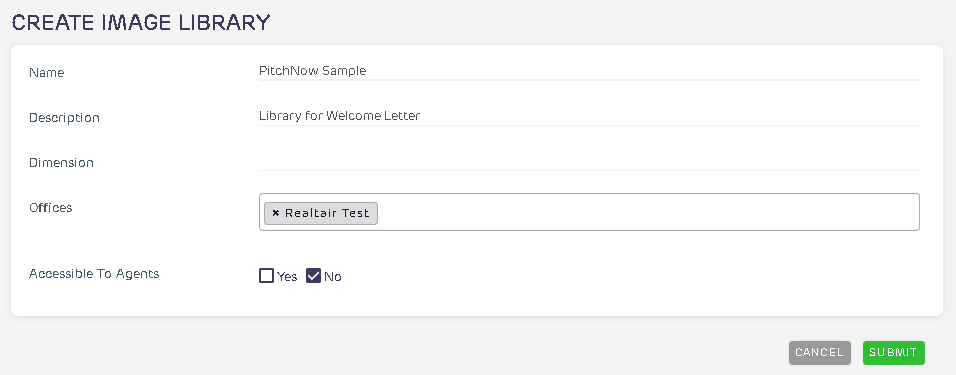
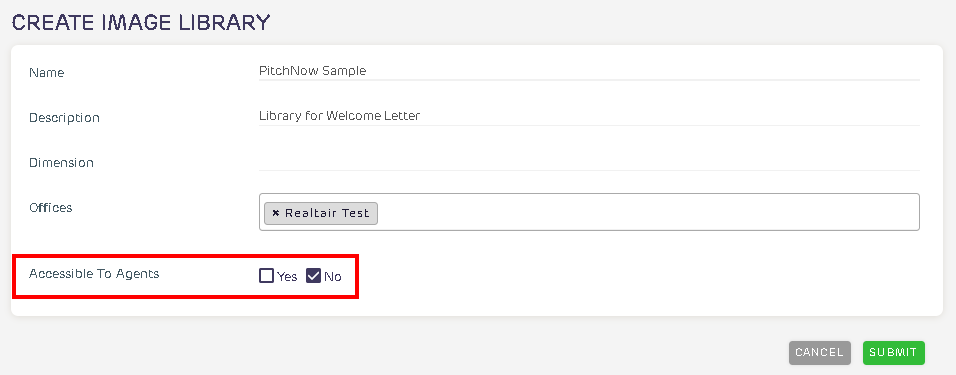
Option is also available to limit the capability of agents to upload new images. in the option Accessible to Agents, tick Yes if agents would be allowed to upload images in the library. Tick No if only office admins can upload images to the library.
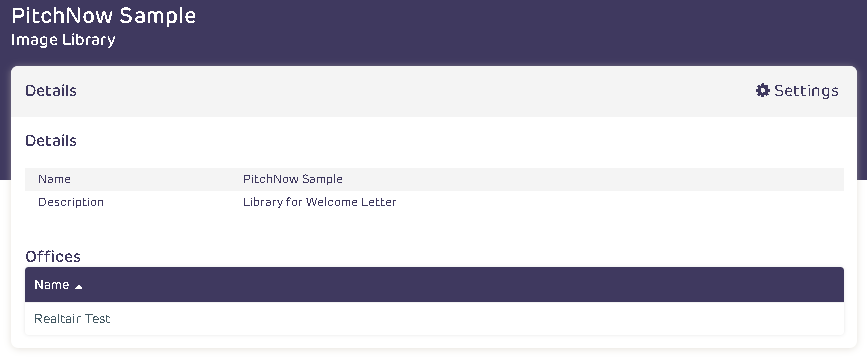
After clicking Submit, the page will redirect to the Image Library details page.
Option 2. From your dashboard
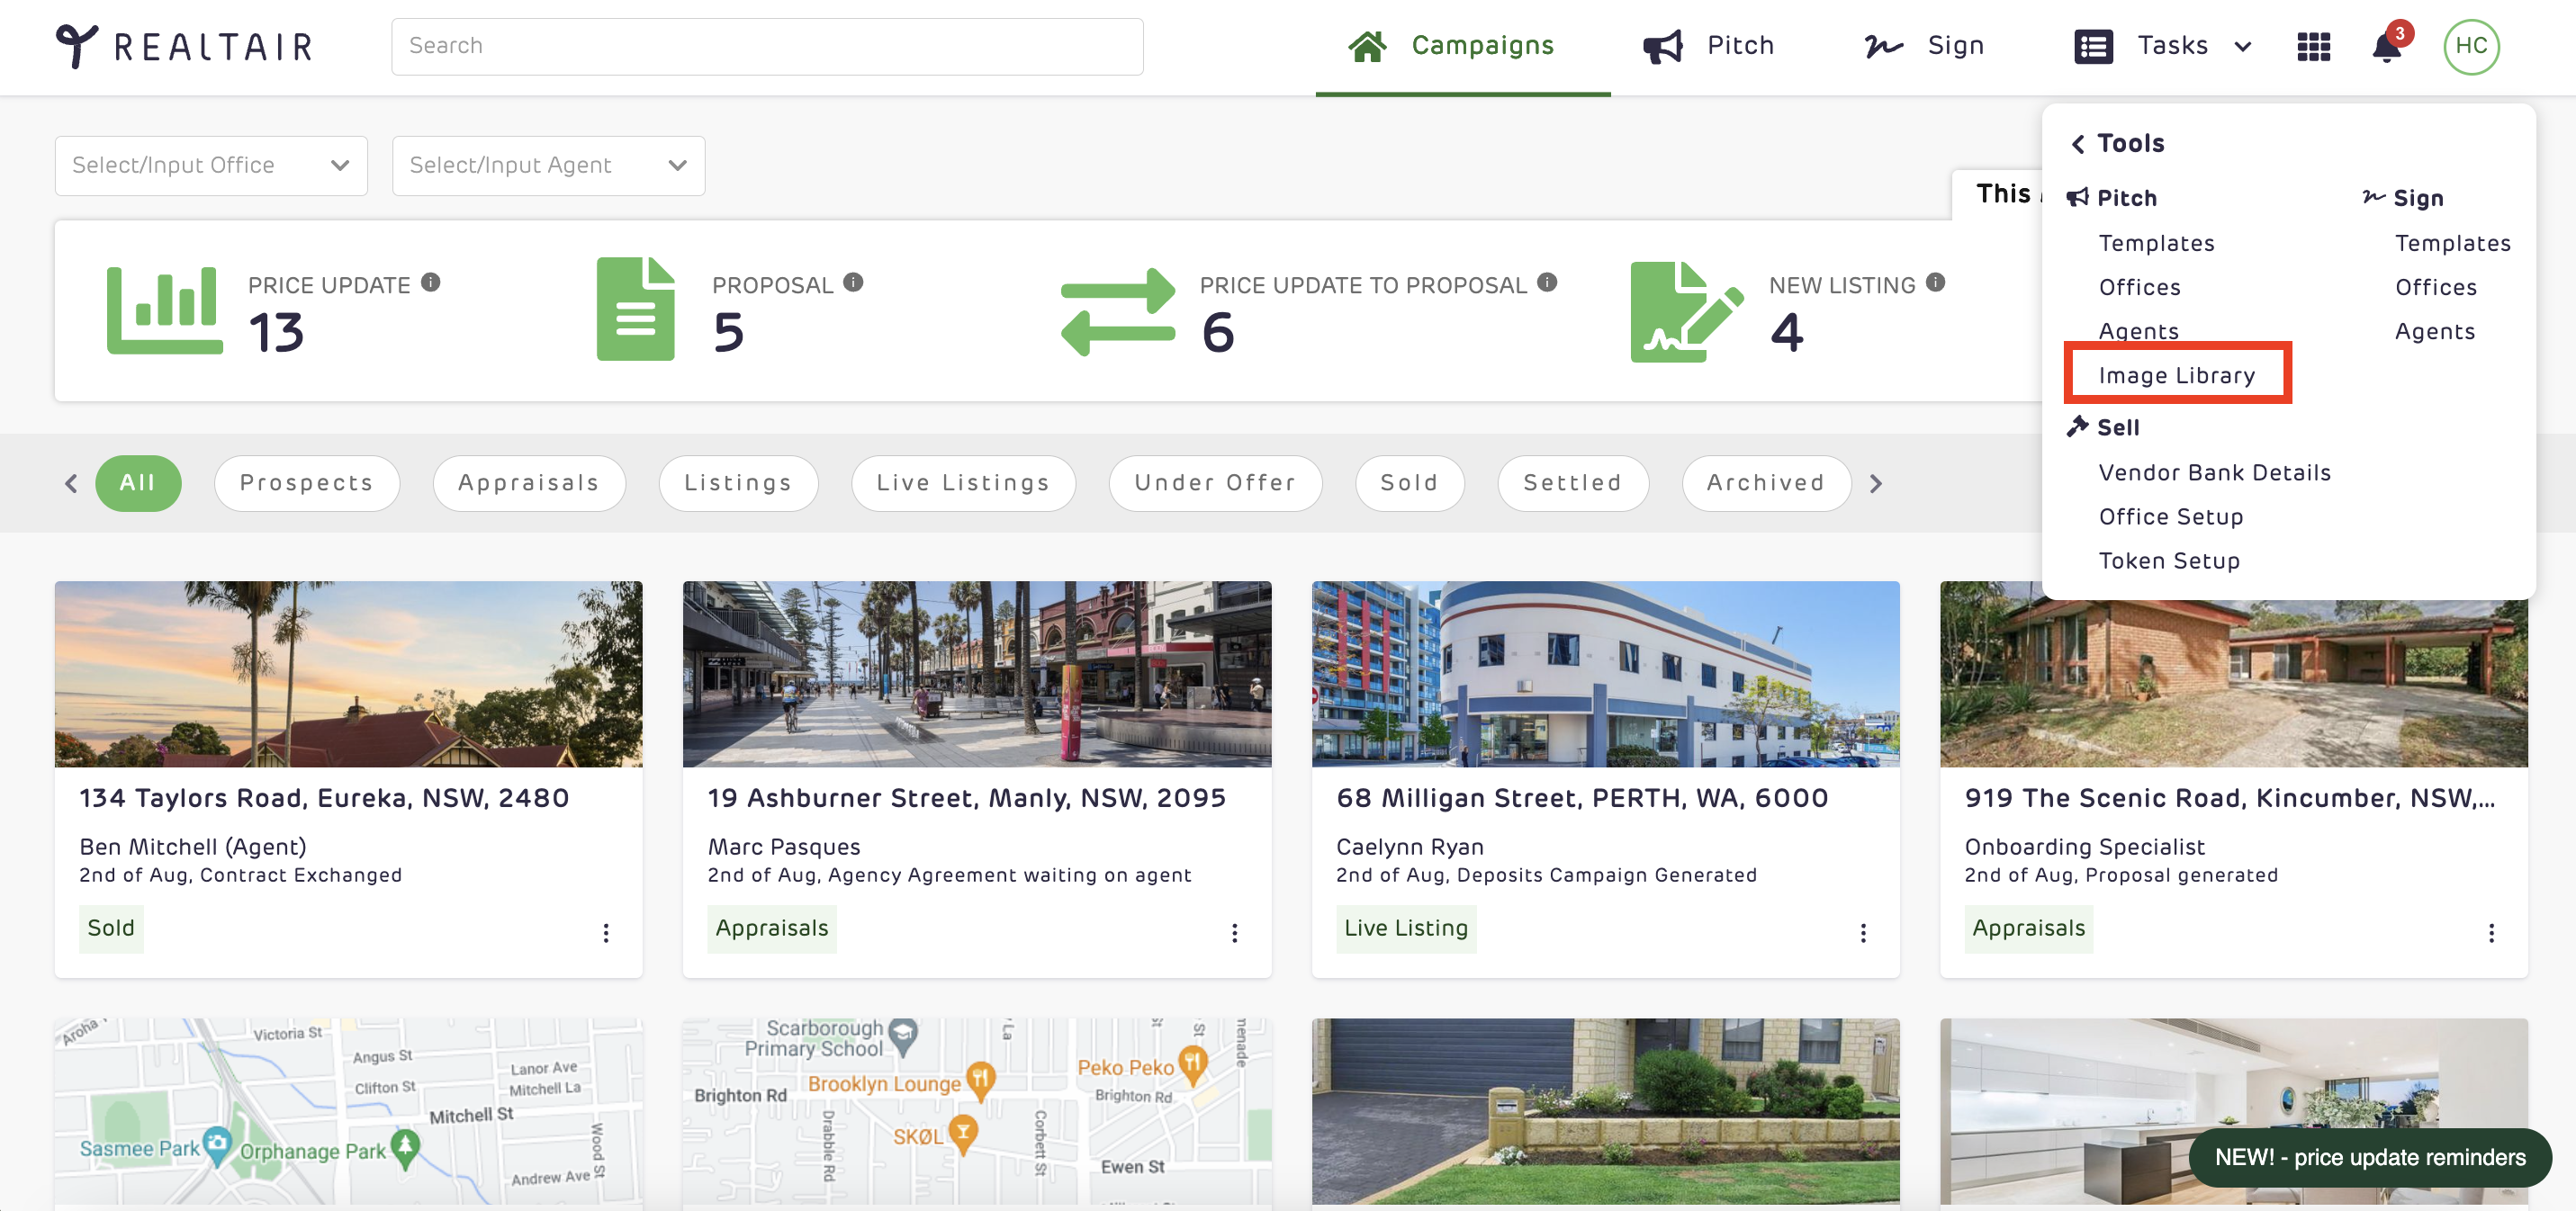
Click on the menu, select tools then select the Image Library
Click the Create Image Library button.

Follow the same process as the first mode in creating a new image library.
👉 Learn how to link your image library to your template
👉 Learn how to manage your image library
![Realtair RGB Green Box Logo.jpg]](https://help.realtair.com/hs-fs/hubfs/Realtair%20RGB%20Green%20Box%20Logo.jpg?height=50&name=Realtair%20RGB%20Green%20Box%20Logo.jpg)