Adding the REA Rent Snapshot data component
This component is only available for Connect users.
-
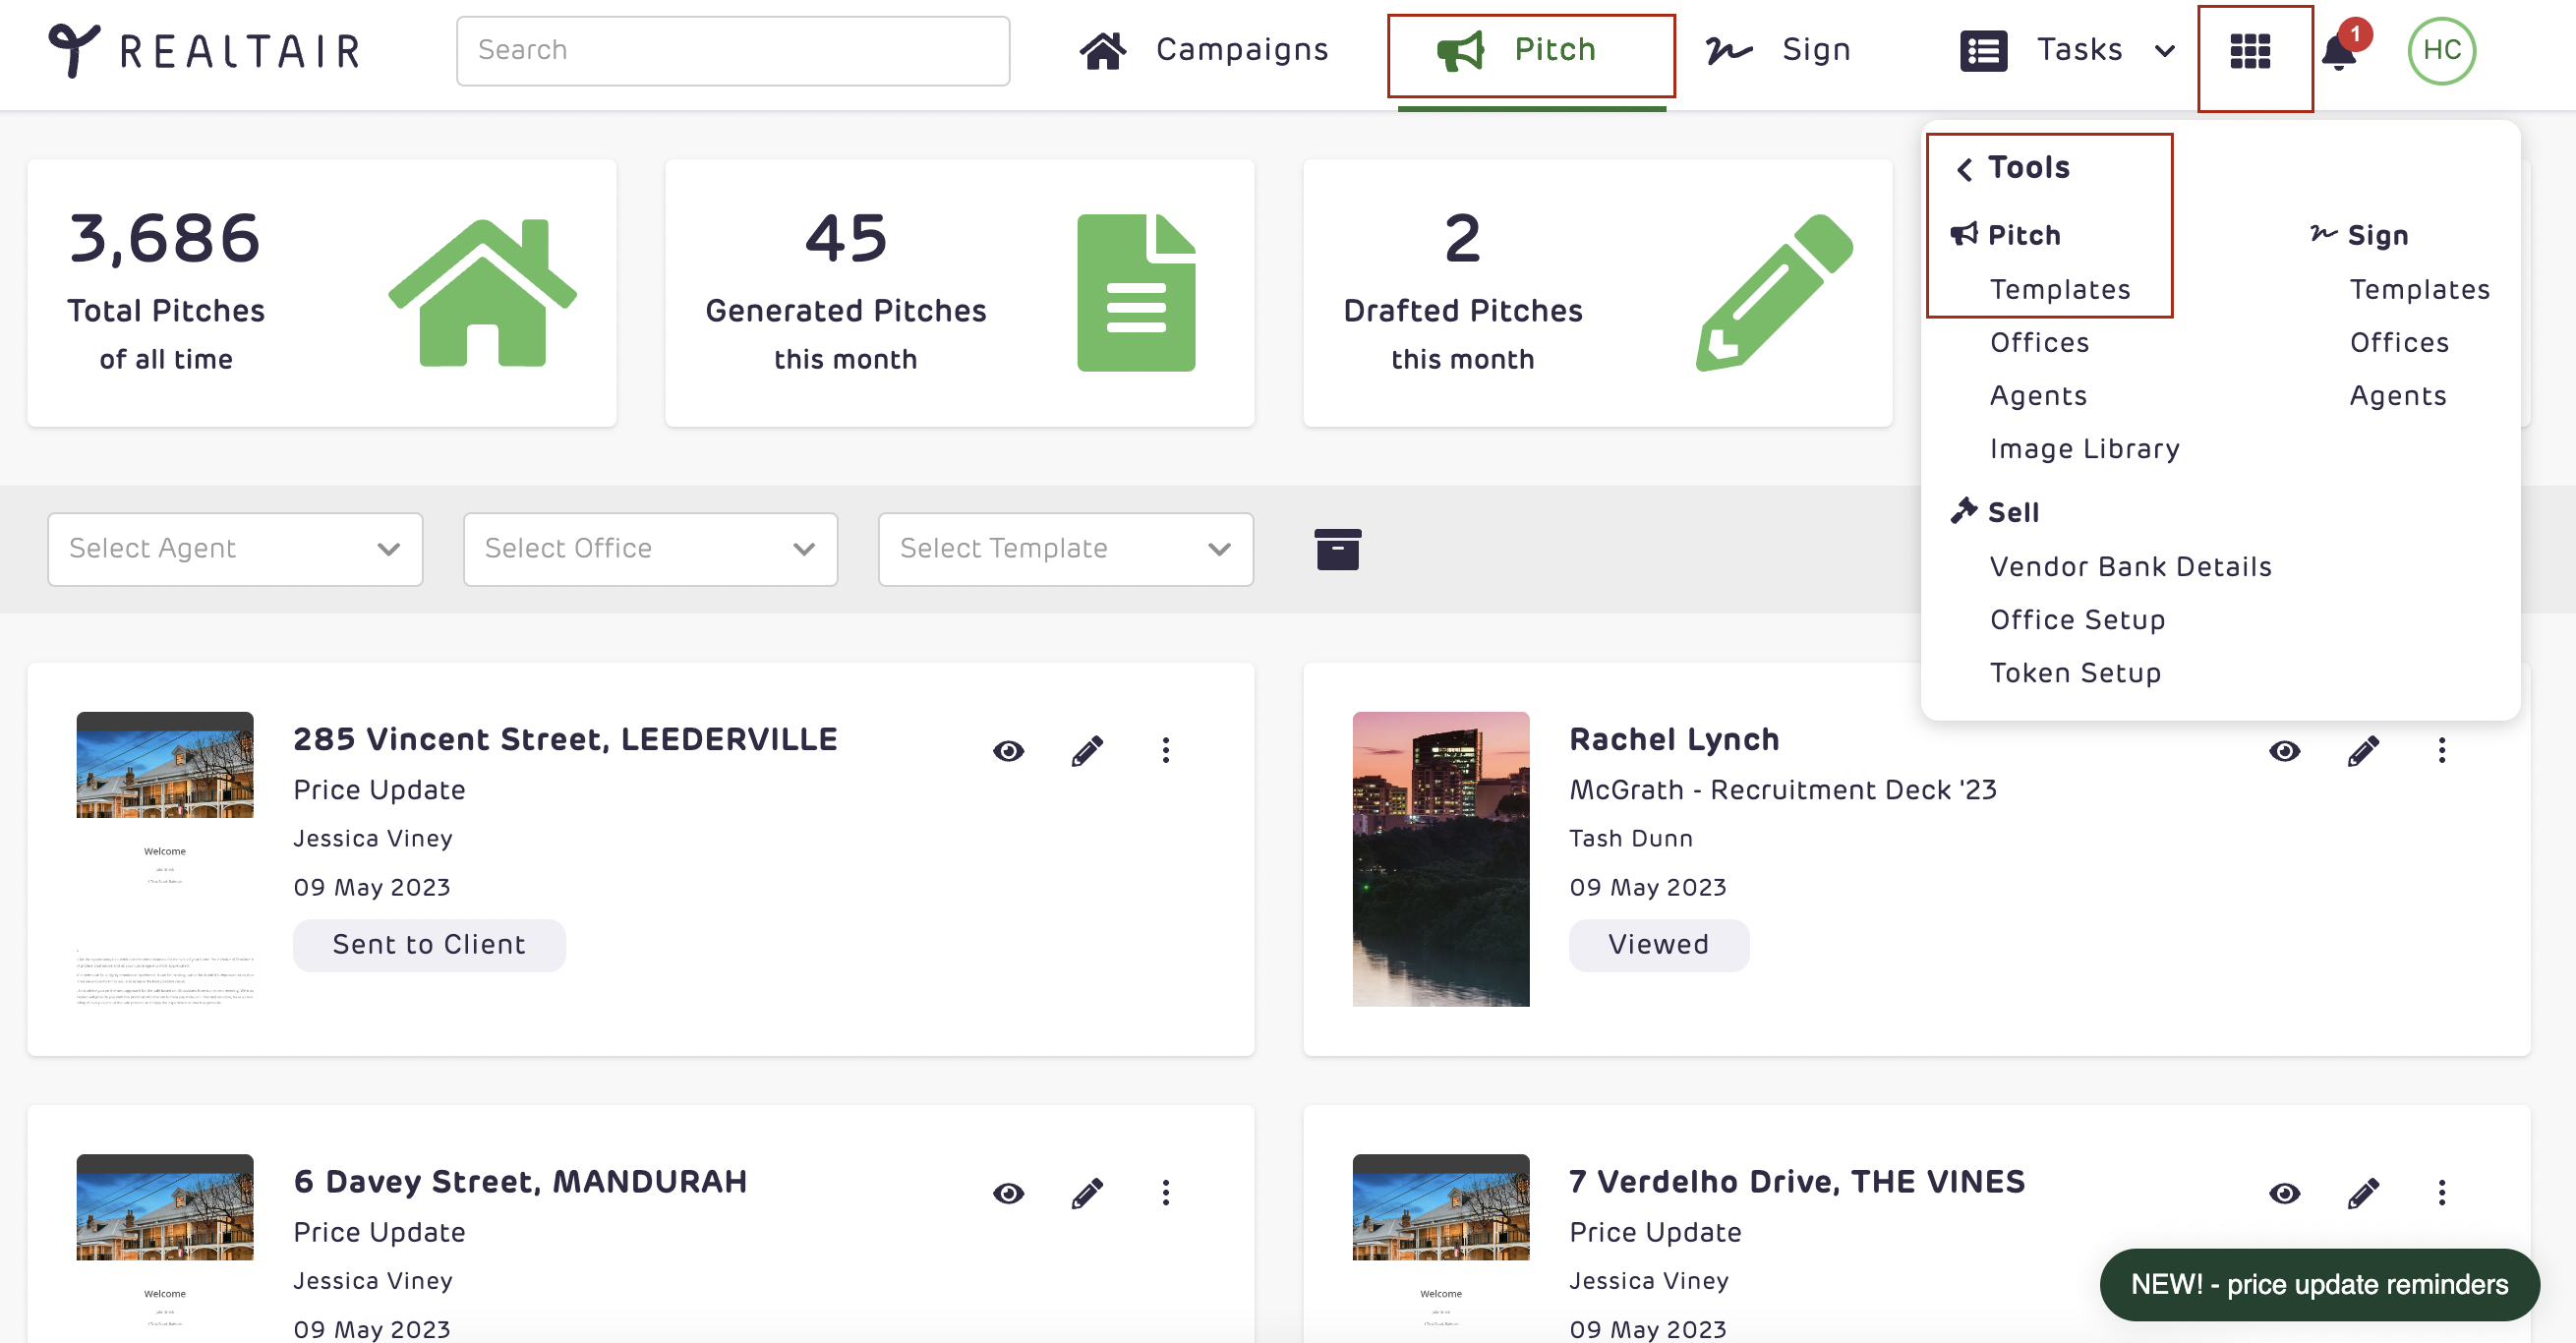
When in the Pitch dashboard, Click the App Switcher App Icon > Tools > Templates.

-
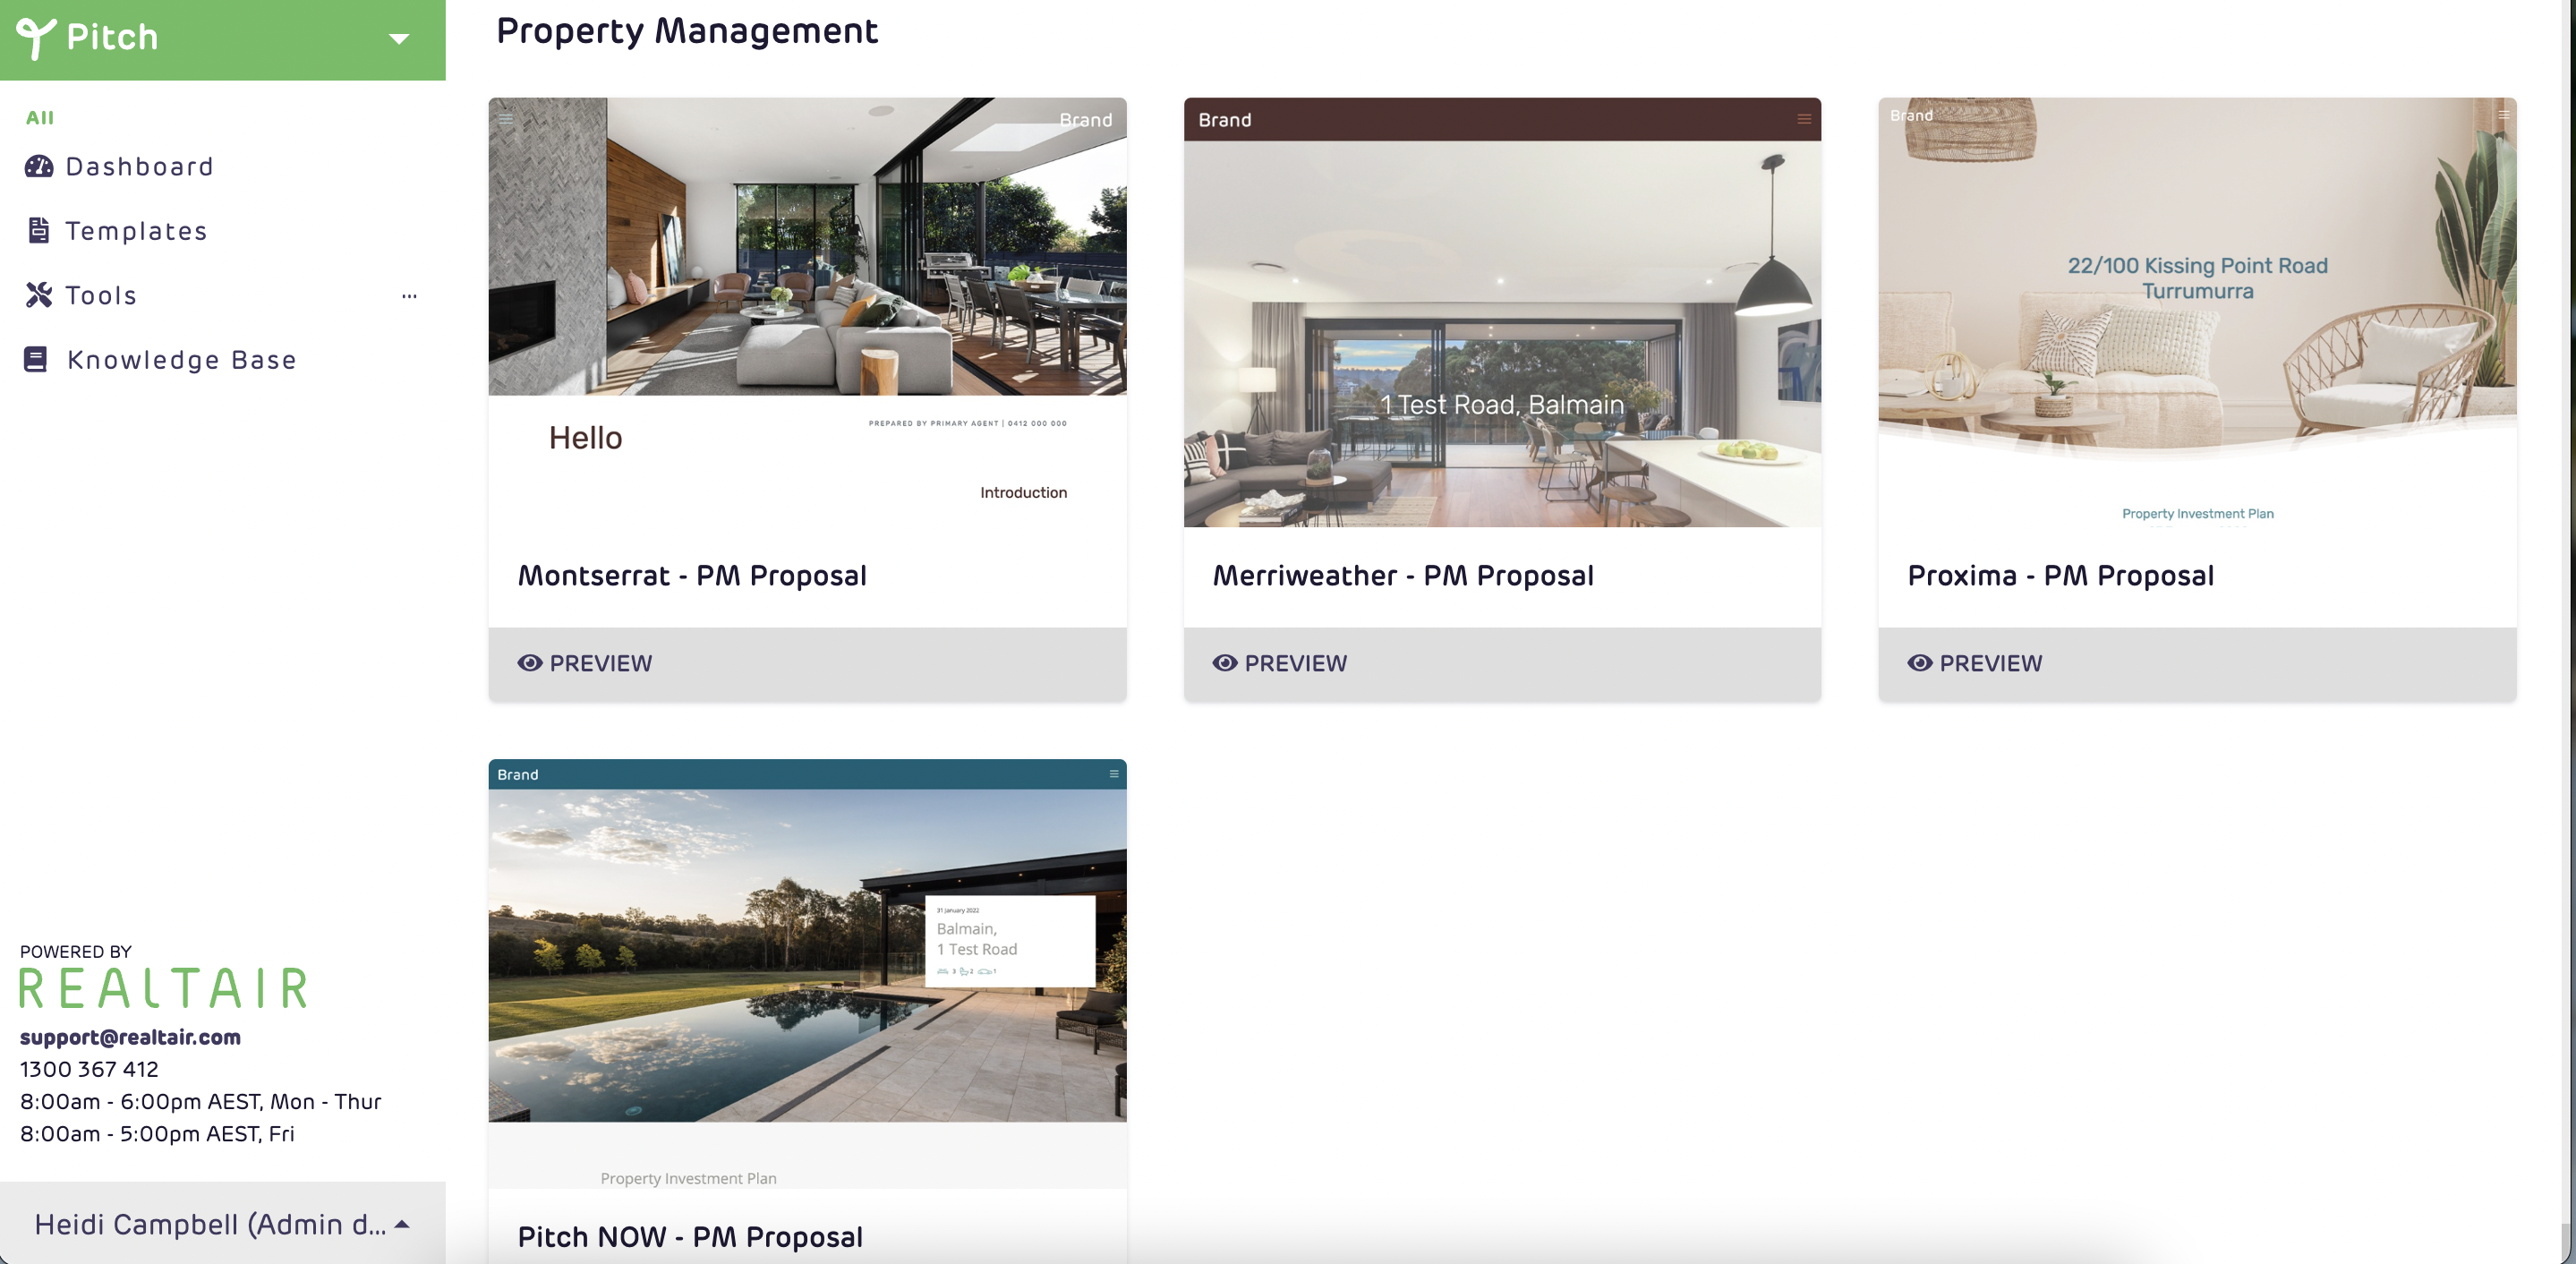
On the templates Menu, scroll down and select any Property Management (PM) templates.

-
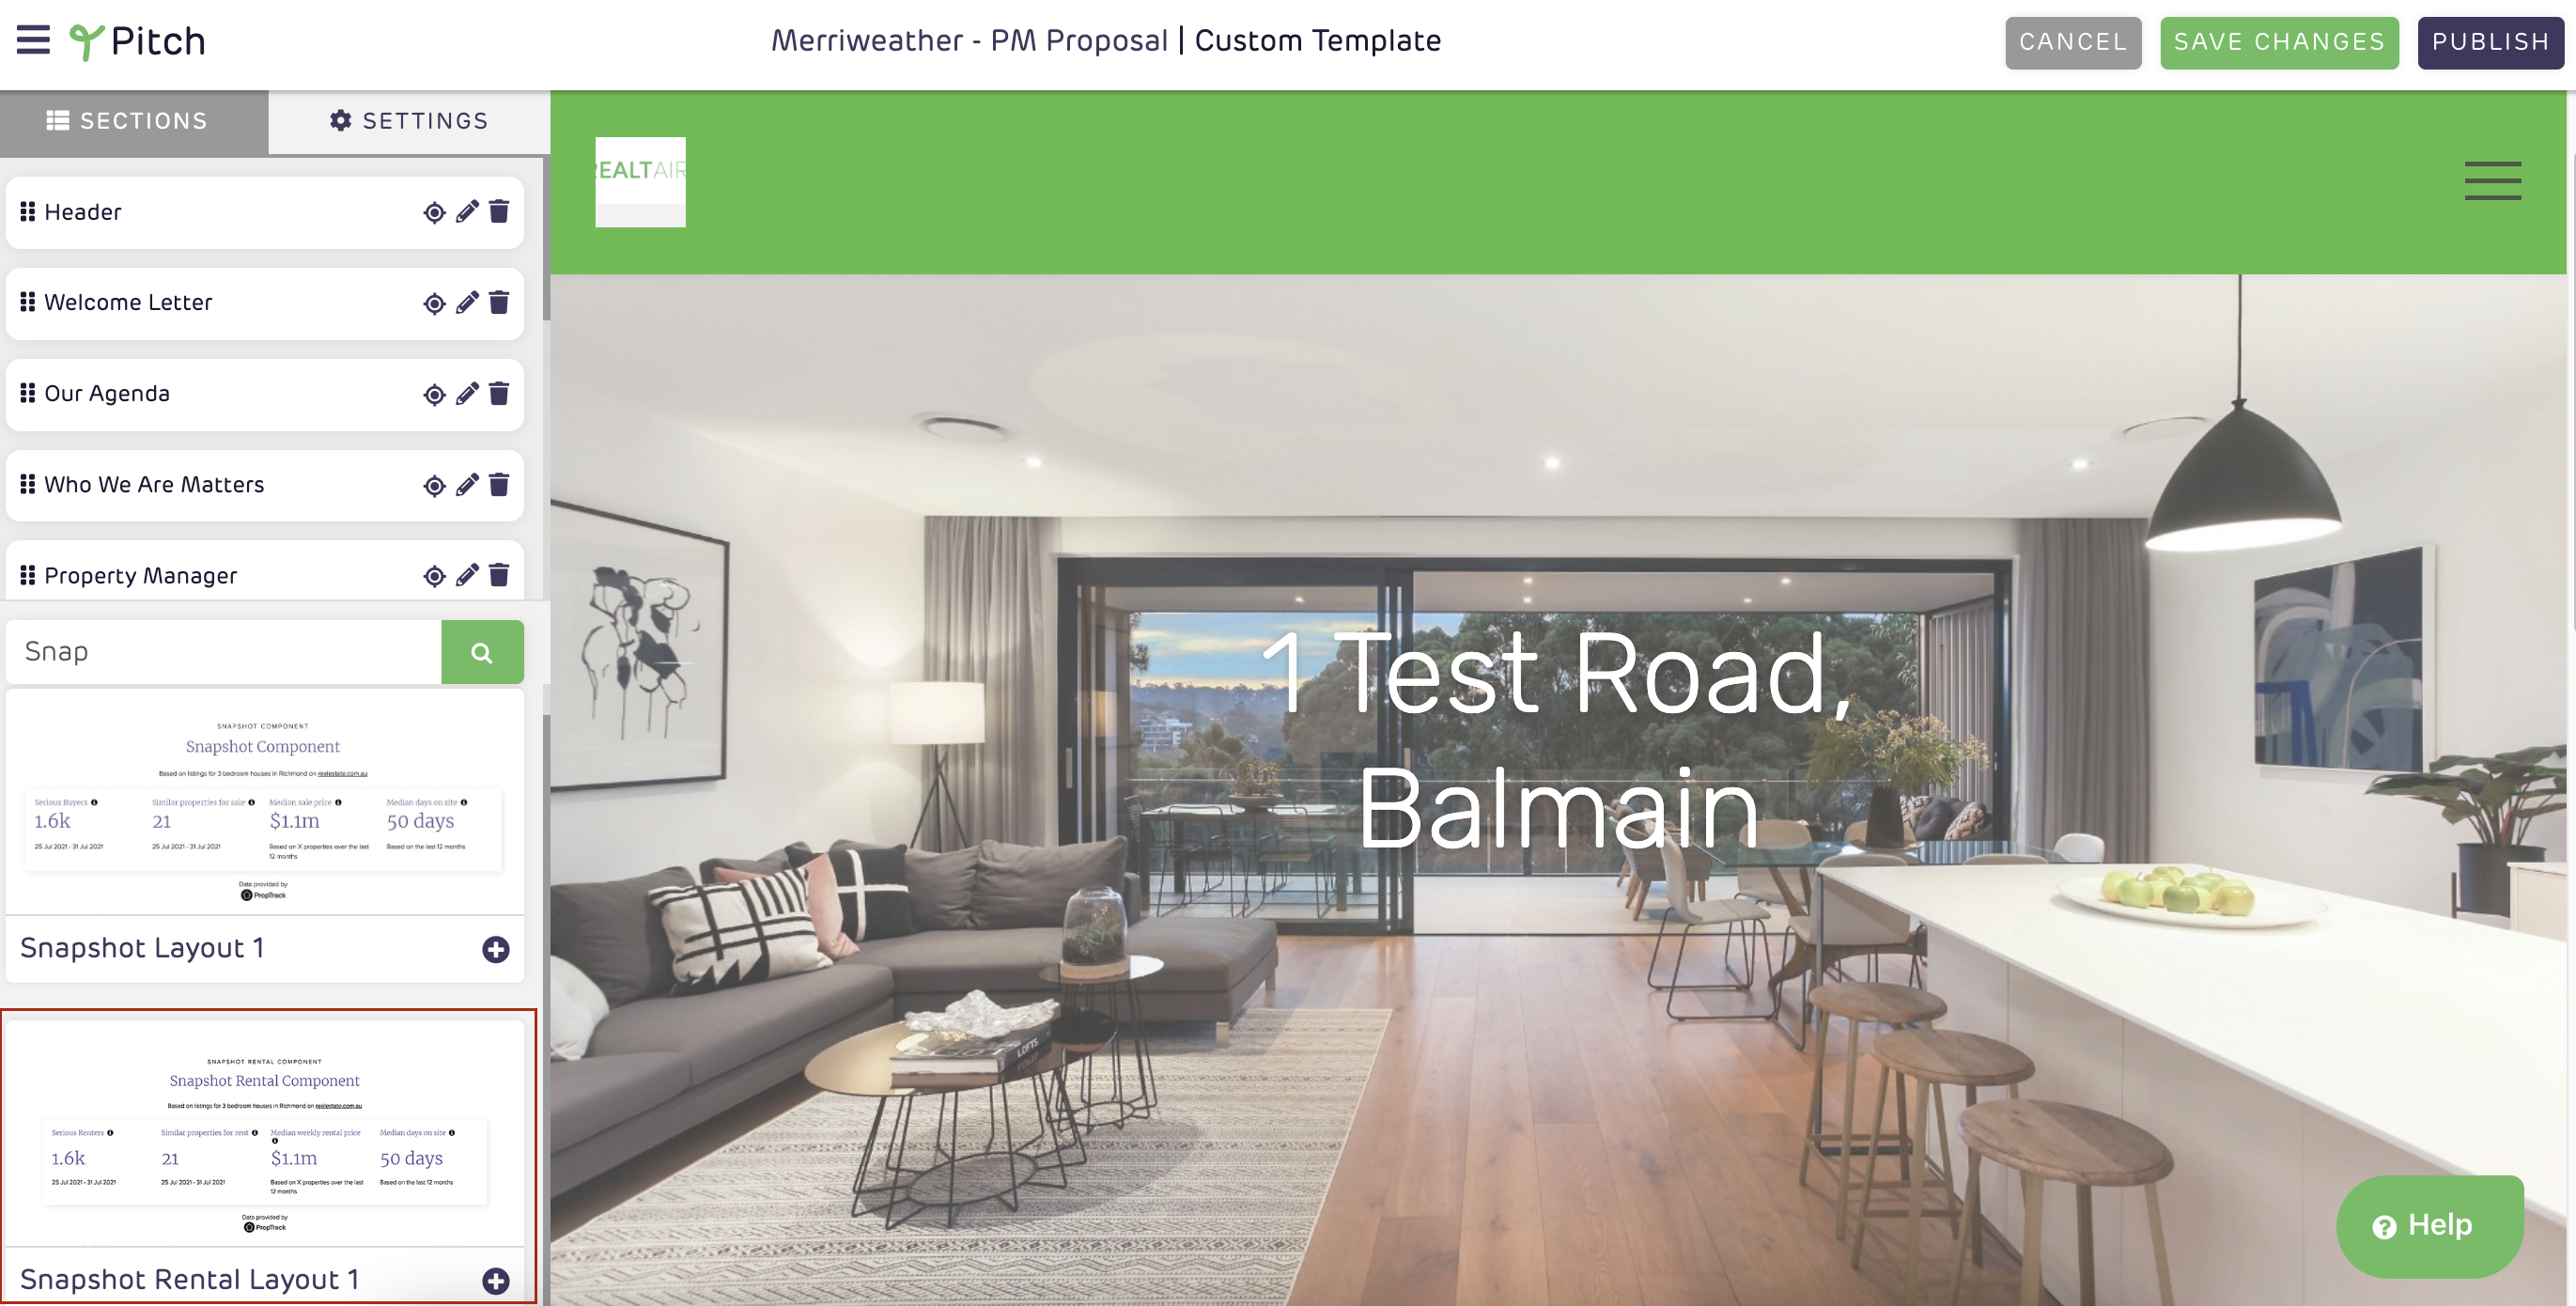
When you have selected your PM template you will be redirected to the template editor.
-
On the sidebar, search for the Snapshot Rental Layout 1
-
Click on Preview then click Use this Section.

-
In this component, you can toggle Yes if you want to add it in the Navigation Bar.
-
For the heading, you can simply type your own text on this.
-
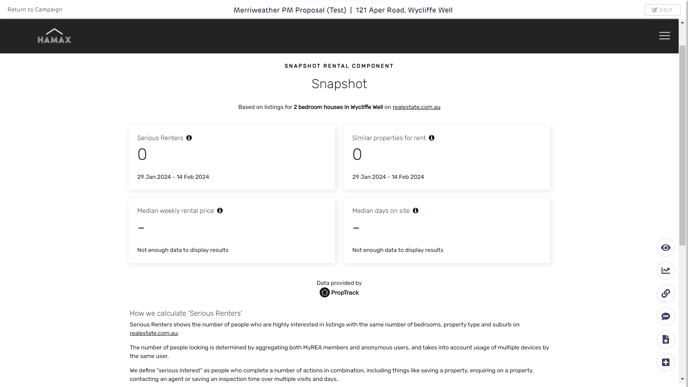
You will also be able to toggle Yes on the 4-icon Layout to have a different layout of your Snapshot Data.

1st layout

2nd layout (4 Icon)

-
Once you are done editing, click submit on the component then you will have the option to toggle yes/no to show the information on your snapshot data.

-
Lastly, publish your template for the changes to be applied in your presentation.
How to select the Snapshot tiles to display in presentations
-
Open a presentation and click Edit Whole Form on the right side.
-
Go to the Snapshot component in the online form.
-
You can select/toggle the tiles that you want to display.

-
Click submit to apply the changes to your presentation.
Web


For more information on this update, contact us at support@realtair.com and we will be happy to assist you!
![Realtair RGB Green Box Logo.jpg]](https://help.realtair.com/hs-fs/hubfs/Realtair%20RGB%20Green%20Box%20Logo.jpg?height=50&name=Realtair%20RGB%20Green%20Box%20Logo.jpg)