![Realtair RGB Green Box Logo.jpg]](https://help.realtair.com/hs-fs/hubfs/Realtair%20RGB%20Green%20Box%20Logo.jpg?height=50&name=Realtair%20RGB%20Green%20Box%20Logo.jpg)
To access the frequently asked questions related to the template editor, simply scroll down to the bottom of the article.
Please note only admins of your office can update Pitch templates.
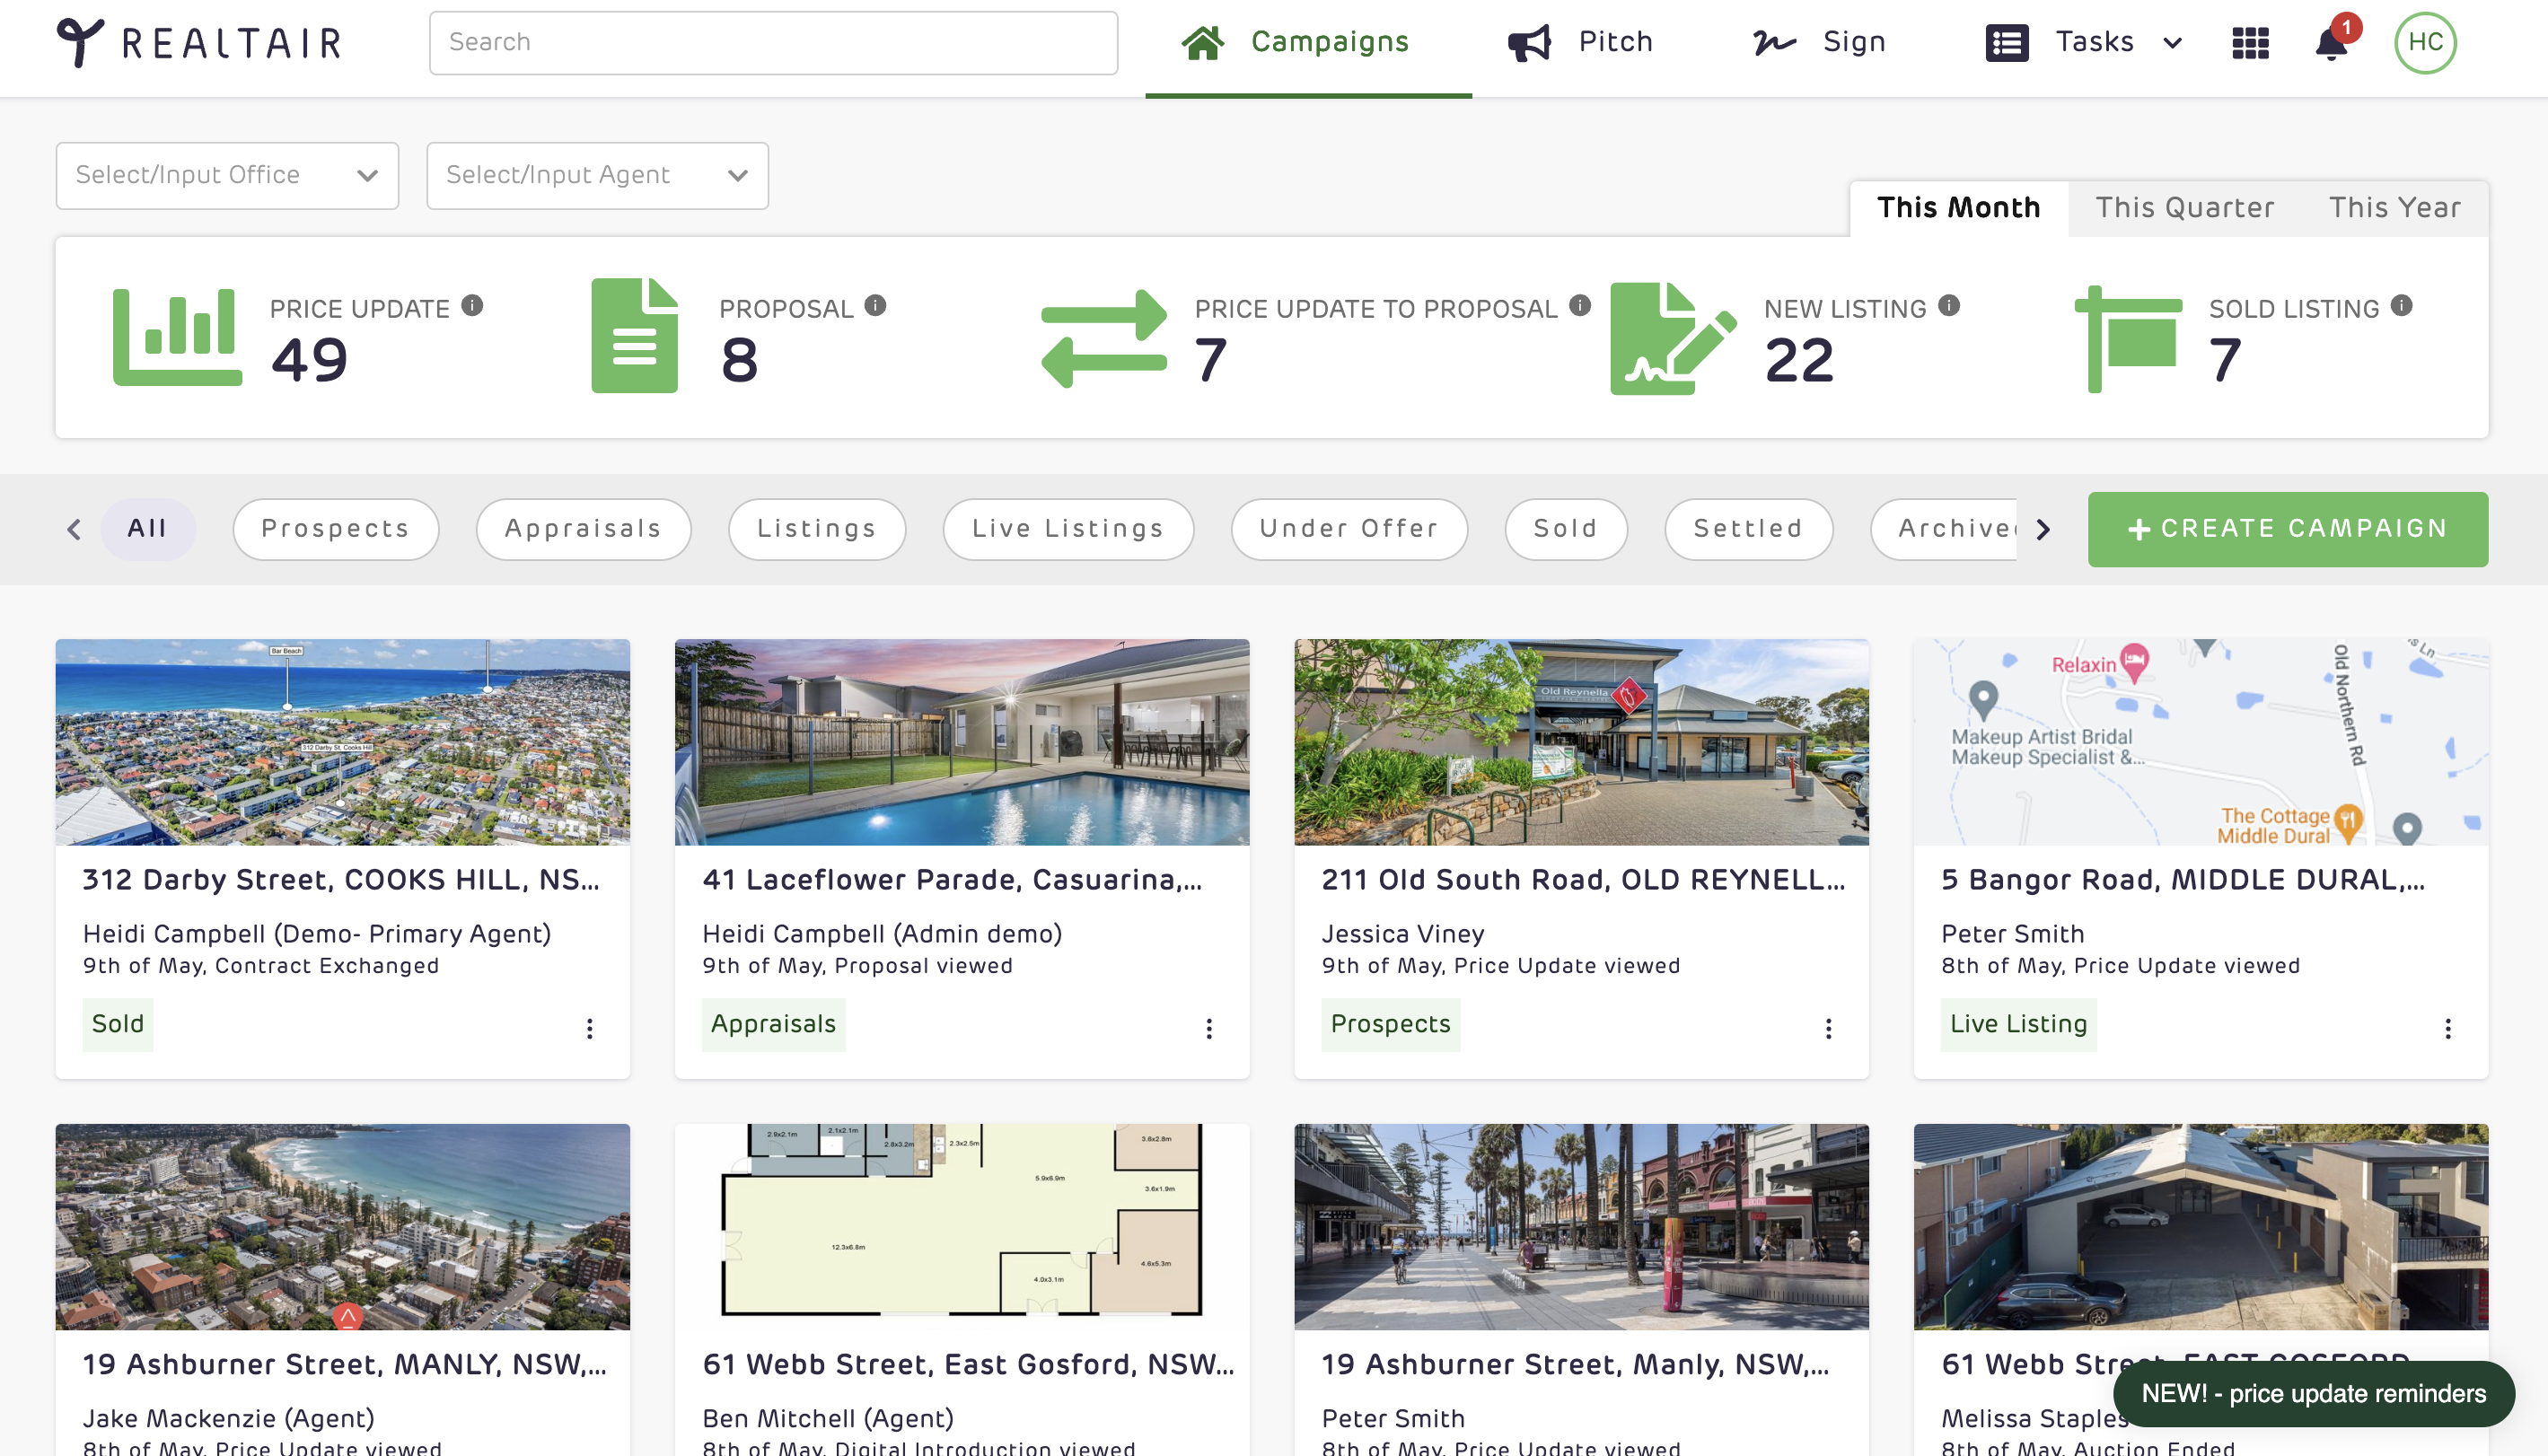
1. Once you are logged in using the given credentials, you will be directed to the "dashboard" page.
2. Click the App Switcher Icon > Tools.

3. From Tools, Click Templates.
|
|

4. From the template editor, you can see the base templates that you can use to start building your own brand templates. The base template can be used as a guide for building either Digital Introduction, Proposal, or Price Updates. If there’s a template that has been built prior to accessing your account, it will then show up under “My templates”.

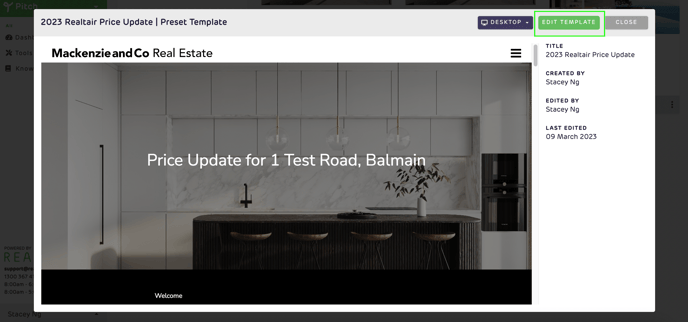
5. From the template editor’s base template(s), you have the option to “Use template” as a guide on how you can proceed with building the preferred template you want to use. Once clicked, it will show a preview page of the template. After this proceed to click on "Edit Template" Which will redirect you to the template editor.
6. From here, you will see the template editor. In this sample, we've selected the Realtair Price Update as our base template. On your left, the first box contains components that are pre-selected for the template. You can either keep or remove them based on your template preference. The next components on the second box are the various available components that could be used for the template build.

7. If you wish to add more components, head over to the sections below the search bar and click on what you want to add (See Header). Components are categorized based on the similarity of their functionalities but they differ in layout.

8. Once you have found the section you'd like to use click on Preview, then click on Use this section.

9. A pop-up will appear where you can see the component inclusions. Note that the inclusions vary depending on the specific component that you wish to use and its functionality. In this scenario, we used a “Header” component and you have the option to include or exclude it from the navbar, and an option to upload your preferred Heading Image together with color pickers. Click Submit once done to see how it will appear on the template.

10. From here, you will see what the Header you've added looks like. The component should appear in the list of components on tabbed contents. Each component has 3 buttons that tell you to either easily see/track the component, make edits, or remove the component if necessary.

11. For each template created, there is also a navigation bar on the far right where you can see the components that you have added from the tabbed contents. It could either be visible or not depending on if you ticked yes/no to add the component in the navigation bar.

12. You can also access the Settings button where you can change the color scheme of the template. On this page, you will be able to upload your brand logo as well and make changes with the font sizes and colors to appear on the template. Under Print orientation, you can choose between portrait/landscape, and the option to either show the disclaimer or not. Hit Submit once all necessary changes have been made.


13. Do not forget to hit Save Changes for all the changes to reflect on your template. If you're done editing, you may proceed to click Publish.

14. Once the template has been published, it will lead you back to the template editor’s homepage. If the template has been published successfully, its status will show as “published” and if not, the status will show as “draft”. Leaving in “draft” status will result in the template being accessible for campaign creation.


FAQ's
1. Can we have more than 3 templates and make them specific to each agent?
Certainly! You have the flexibility to create an unlimited number of templates and tailor them to fit the specific needs of the office or each agent.