![Realtair RGB Green Box Logo.jpg]](https://help.realtair.com/hs-fs/hubfs/Realtair%20RGB%20Green%20Box%20Logo.jpg?height=50&name=Realtair%20RGB%20Green%20Box%20Logo.jpg)
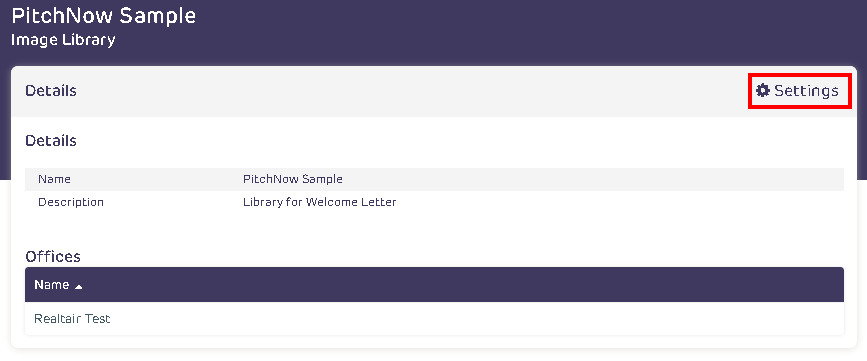
After creating the image library, go to Settings to add images.
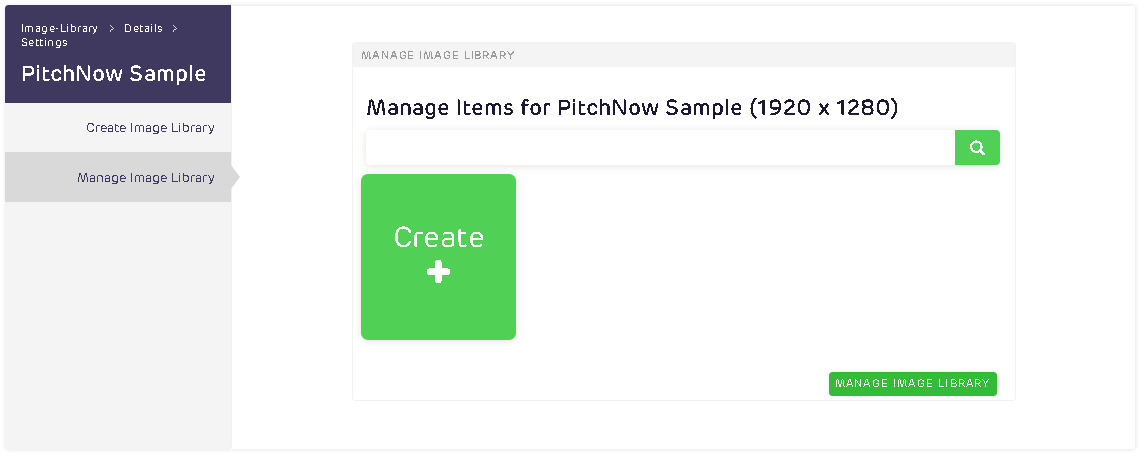
Go to Manage Image Library tab then click the Create button to add images to the library.
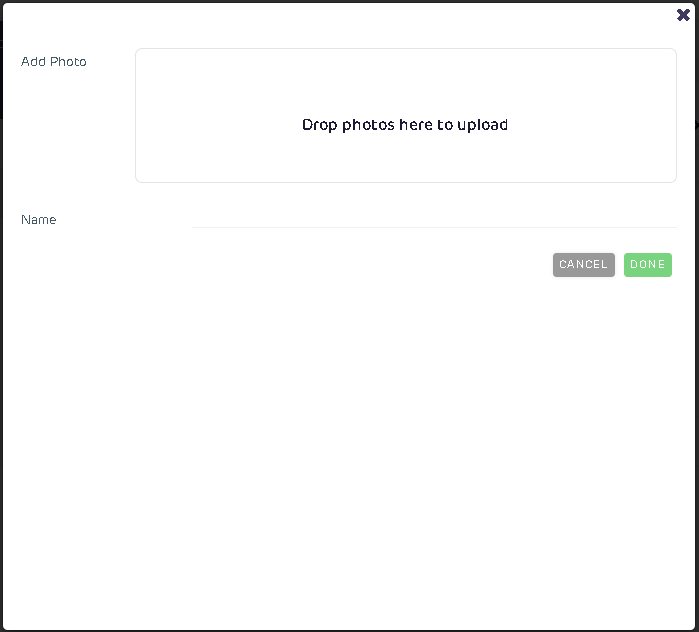
A modal to upload images will pop out.
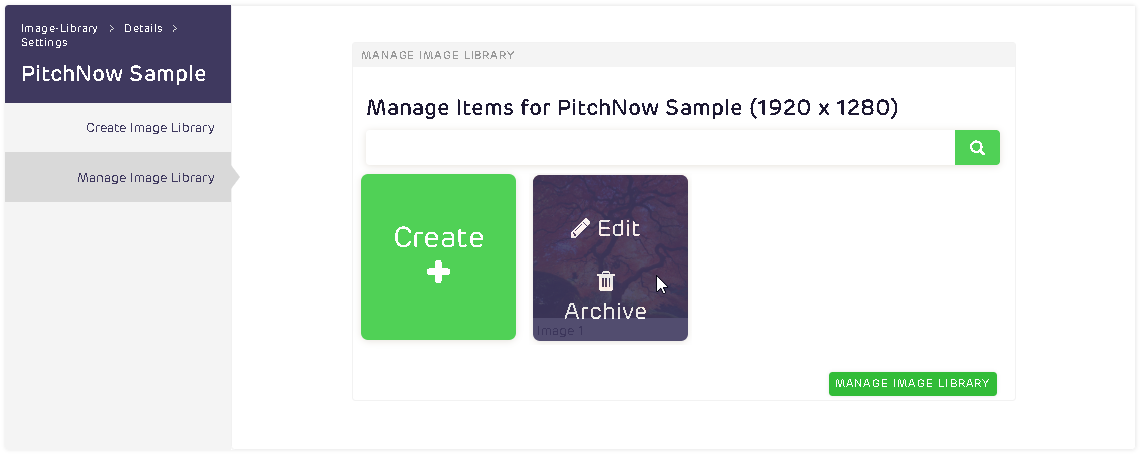
To edit or archive an image, hover to the image thumbnail and click either Edit or Archive.
Click the Manage Image Library button at the lower right to save the changes.
👉 Learn how to link your image library to your template
👉 Learn how to create an image library